OS : Windows 2008 R2 64 bit Server
RAM : 5 GB
Environment : VM
OBIEE Version : 11.1.1.7
Repository Database : MS SQL Server 2008
Since i am installing OBIEE on a VM with DHCP (Dynamic Host Configuration Protocol) Environment. Oracle recommends to install Loopback Adapter.
Note: You do not require to install Loopback Adapter if you are installing on server with fixed IP.
Installation Check list:
Installing Loopback Adapter:
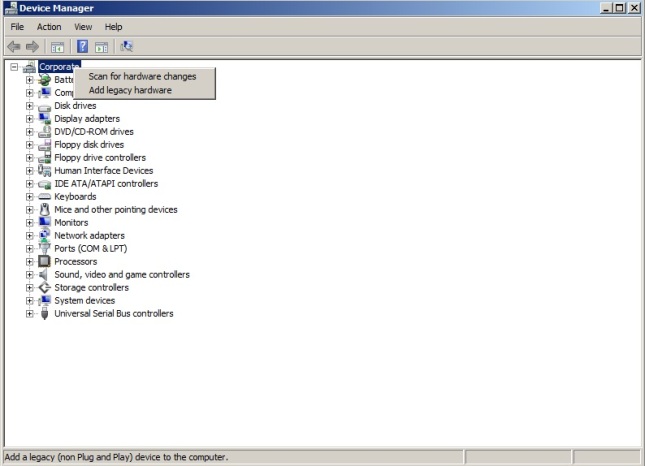
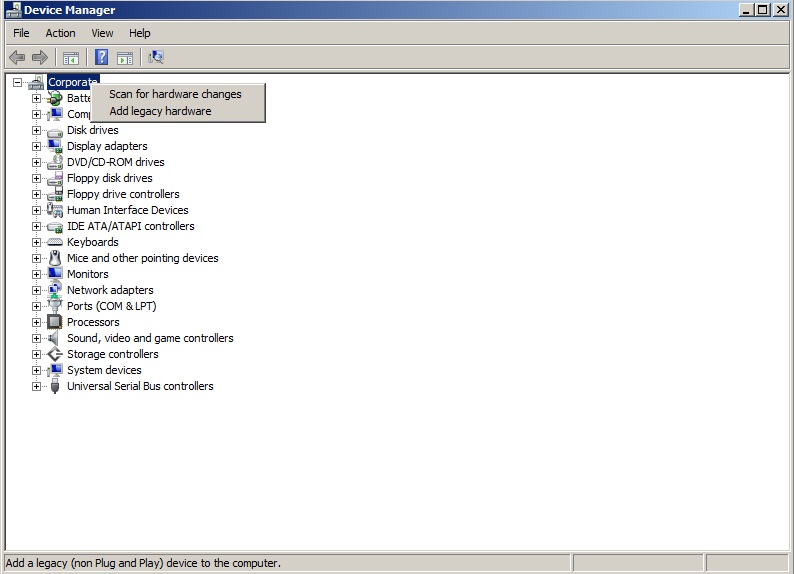
Right click on My computer and select properties Click on Advanced System Settings on the Top Left Corner and select Device Manager.
Right Click the Computer Name and Select Add Legacy Hardware as shown in the screenshot below.
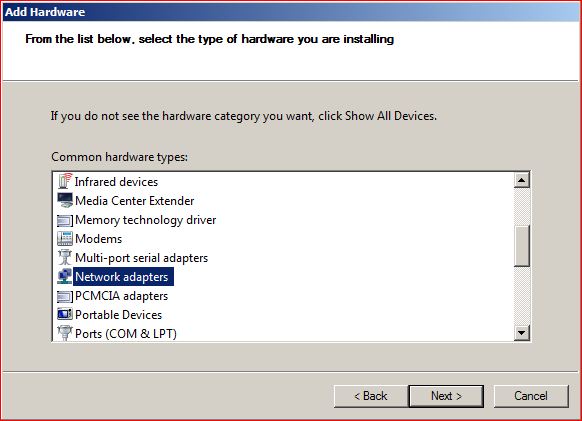
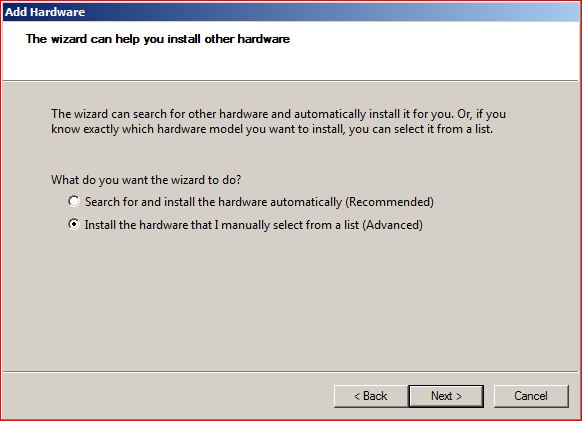
From the hardware window. Select Install the hardware that I manually select from a list (Advanced) radio button and click next.

From the Hardware Types list. Select Network Adapters and click Next.
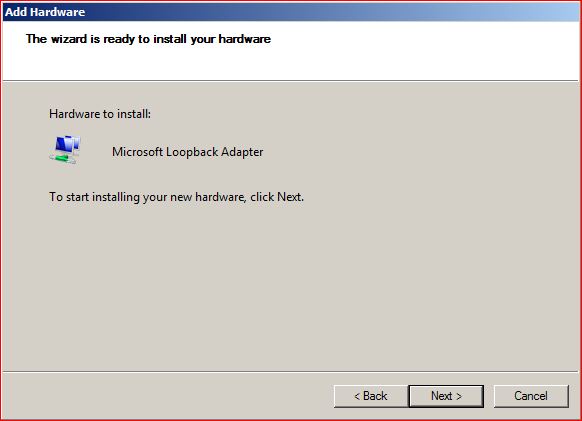
From the list Select Microsoft as manufacturers (Left Side) and Microsoft Loopback Adapter on the right side and click Next.
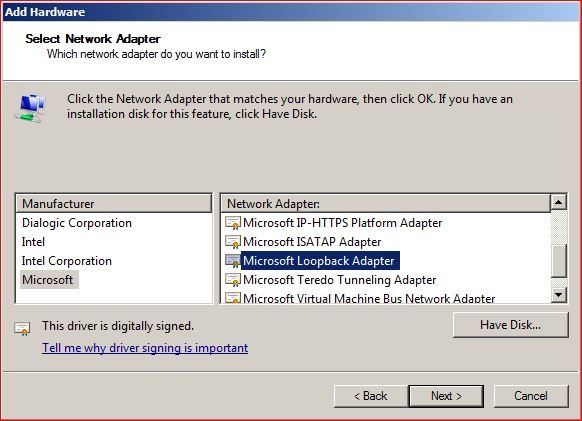
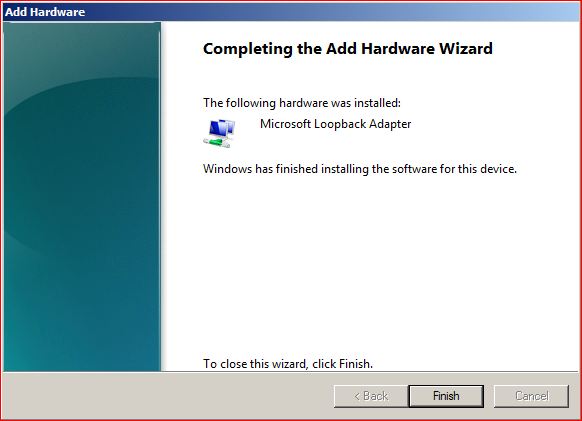
The wizard will install Microsoft Loopback Adapter.

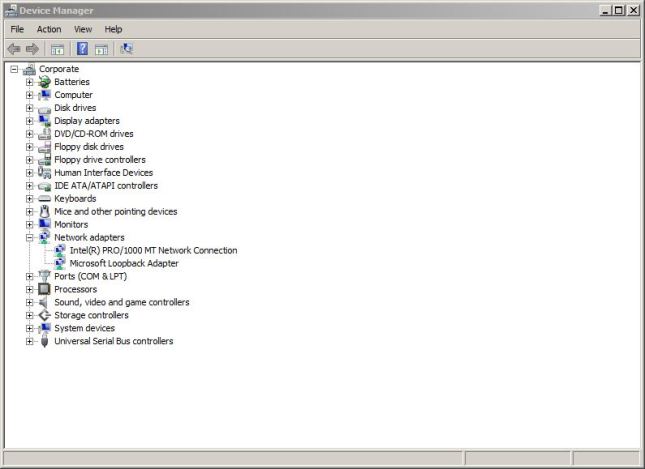
Once the wizard completes the installation. Click Finish.

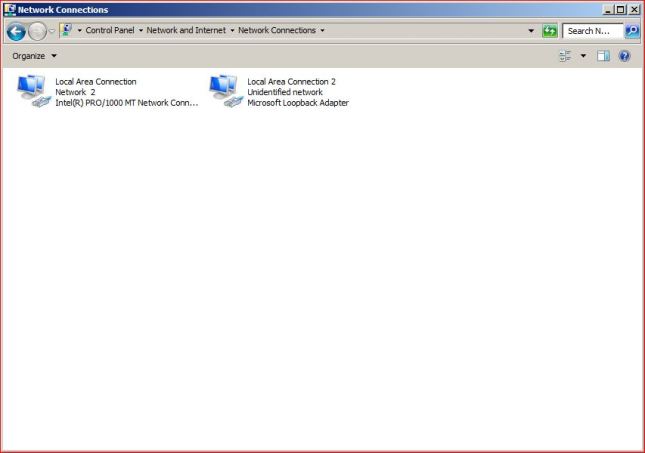
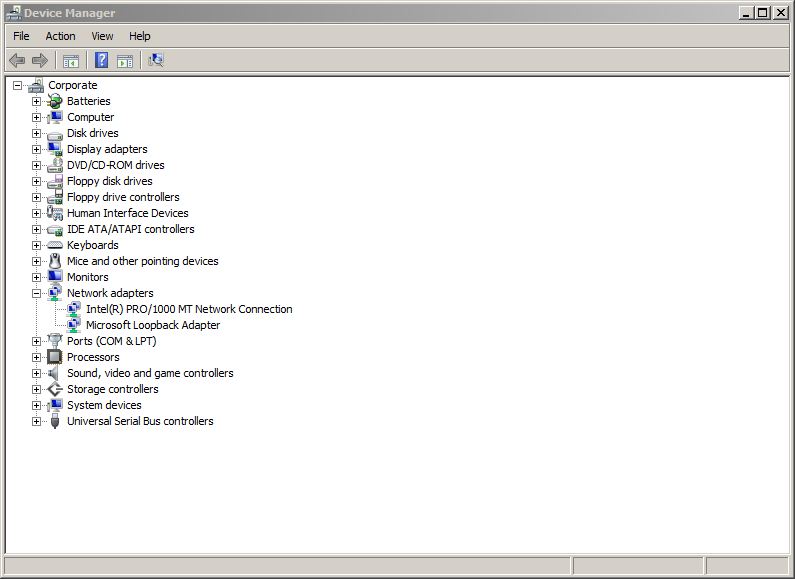
Now you will see the Microsoft Loopback Adapter under the Network Adapters on Device manager window.
Now go to Control Panel. Click on Network & Sharing Center and select change adapter settings on the network sharing window.
Click on Properties on the Loopback Adapter.
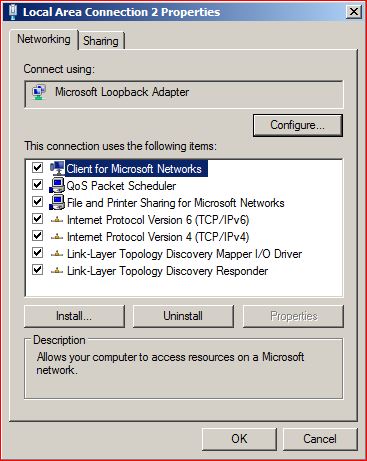
Deselect every check box except Internet Protocol Version 6 and 4.
Now click on Internet Protocol Version 4 Properties as shown below and enter
IP Address: 10.10.10.10
Subnet Mask: 255.255.255.0
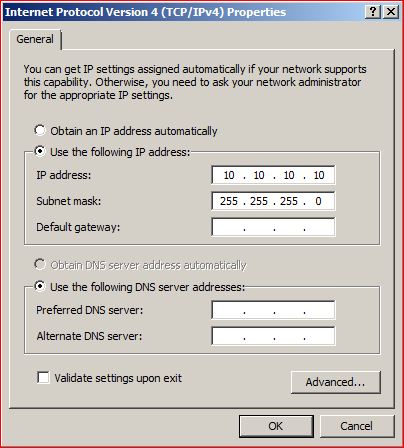
Click OK. Now Microsoft Loopback Adapter will show under the active networks.
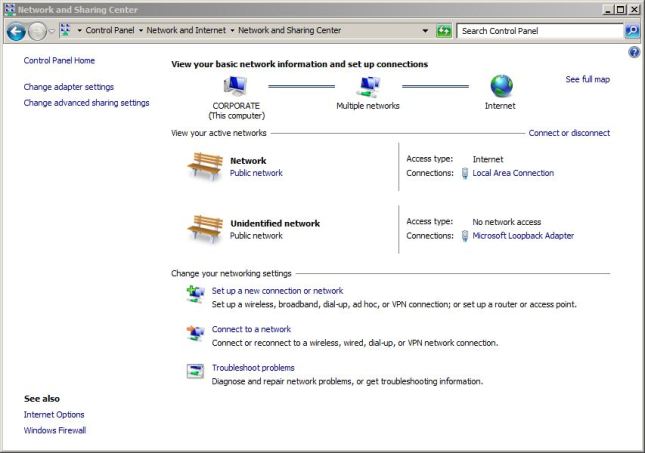
That completes the installation of Micorsoft Loopback Adapter.
Installing RCU:
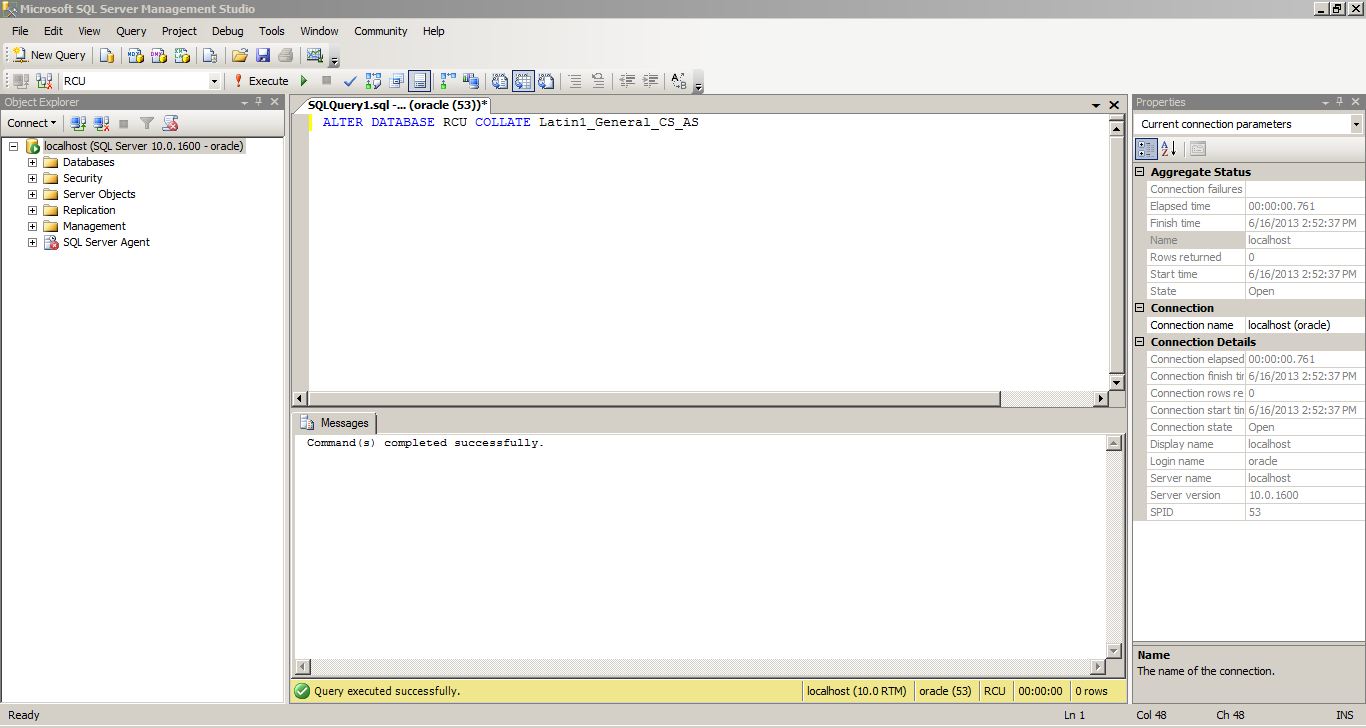
There are few changes to be done on the SQL Server side. For this blog, I have created a Database named RCU to store the OBIEE Repository Tables. Once the Database is created. Run the below queries as shown in the screenshot.
ALTER DATABASE DATABASE_NAME SET READ_COMMITTED_SNAPSHOT ON
ALTER DATABASE DATABASE_NAME COLLATE LATIN1_GENERAL_CS_AS


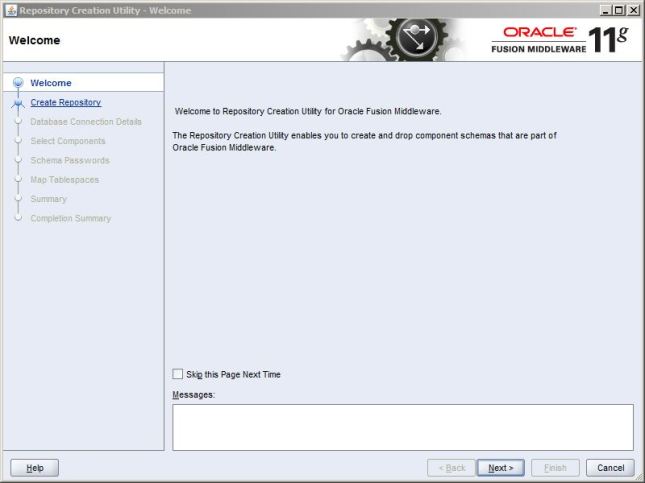
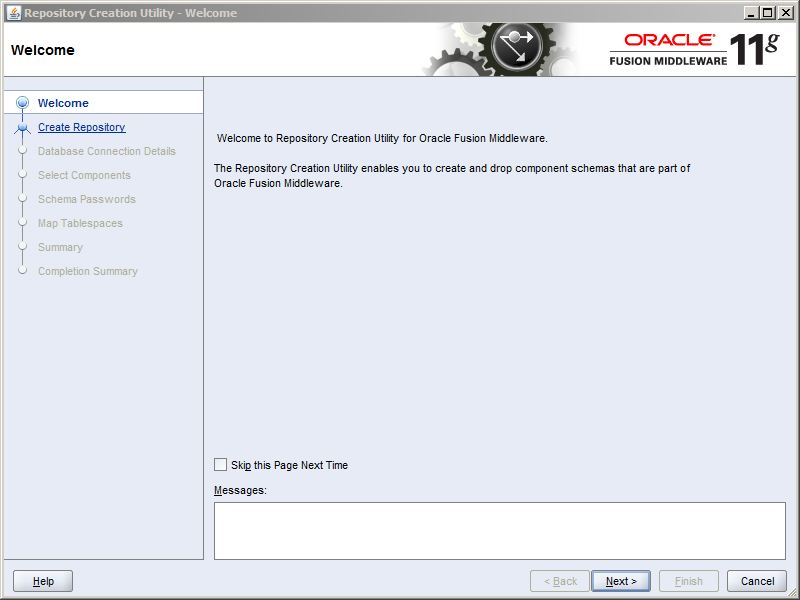
After running the above scripts. Navigate to RCU.bat which is located inside RCU folder –> BIN. The RCU Welcome screen pops up. Click Next
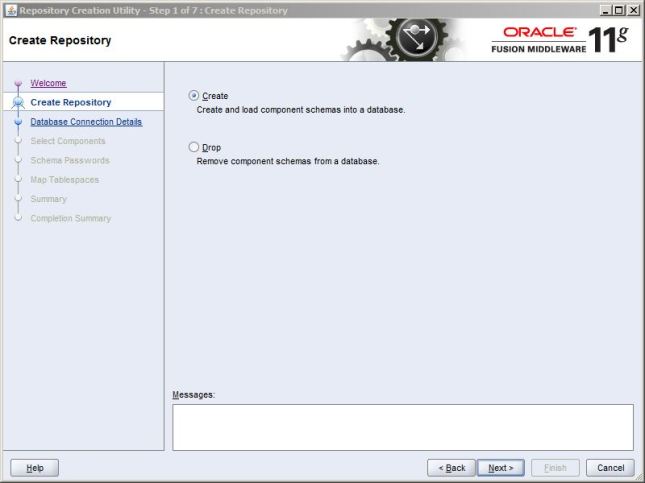
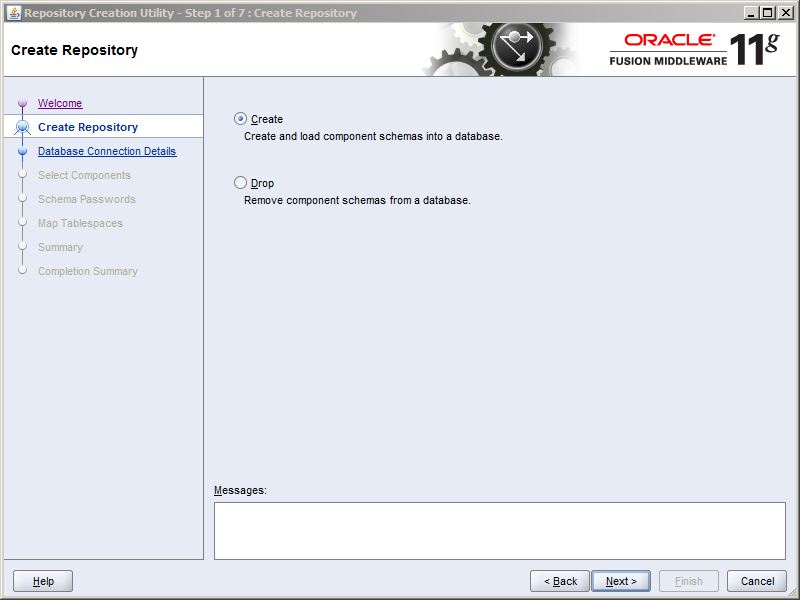
Select Create Radio button and click Next.
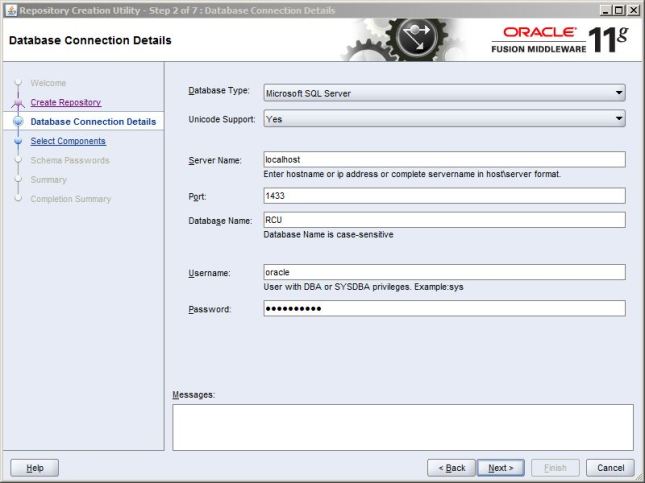
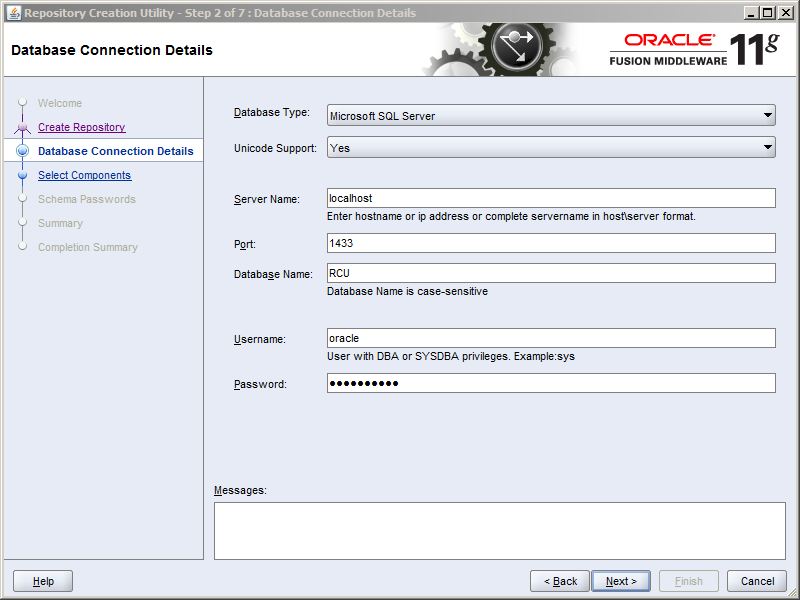
Under the Database Connection Details. Select Microsoft SQL Server under Database Type. Unicode Support to Yes.Fill in the necessary connection parameters. In my case,
Server Name : Localhost
Port : 1433
Database Name : RCU
Username : Username to connect to RCU Database.
Password : Password to login to RCU Database.
Make Sure the username has DBA or SYSDBA Privileges. And then Click Next
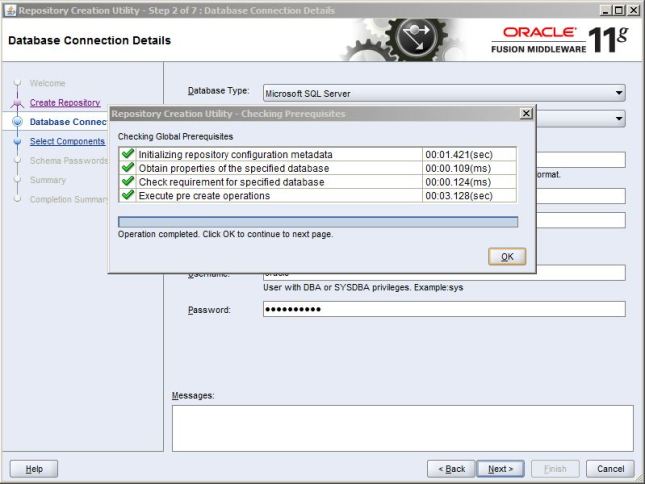
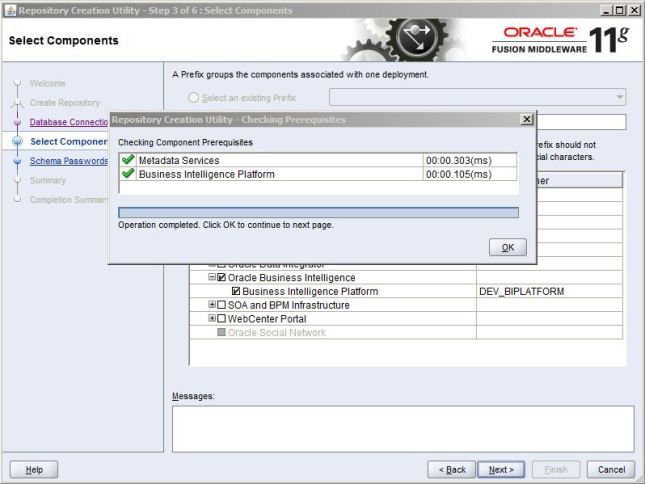
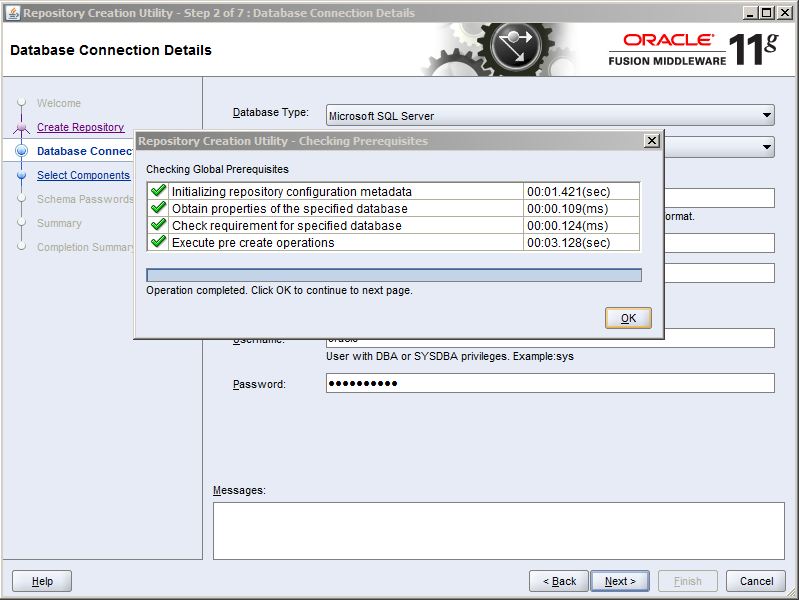
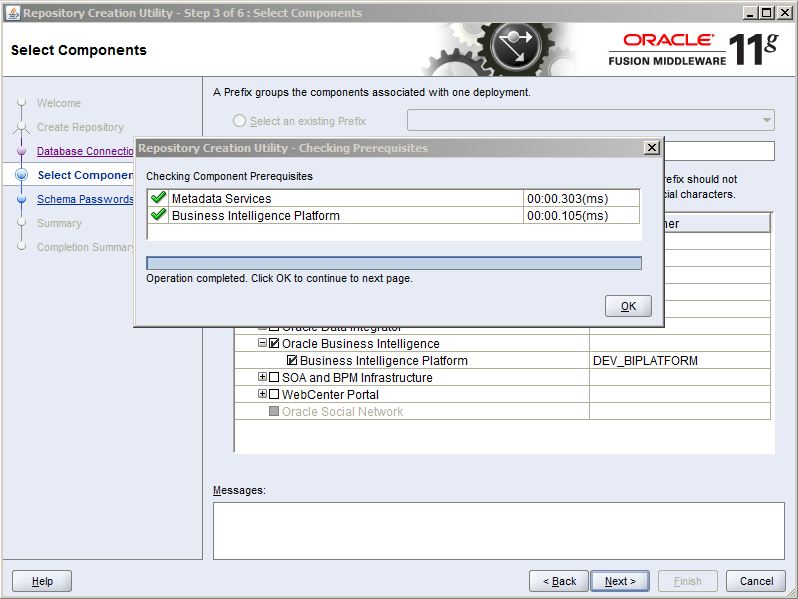
RCU checks the Prerequisites. Once it is completed click OK and then Next.
Under the Components Select DEV_MDS and DEV_BIPLATFORM and then click Next.
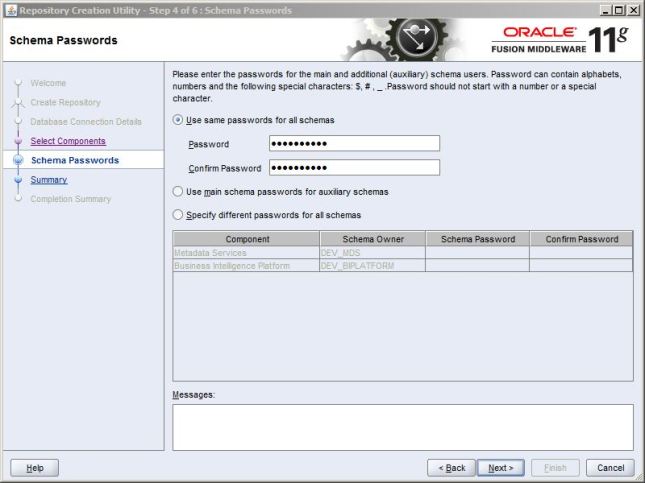
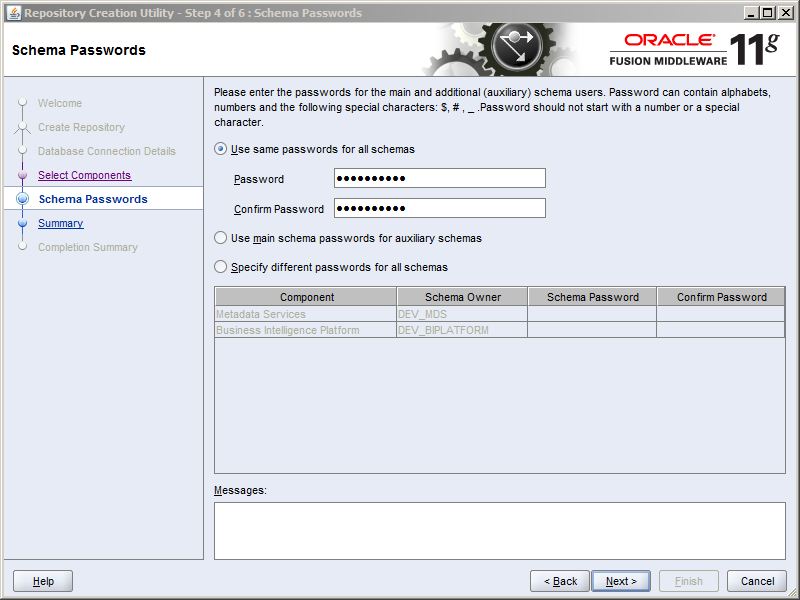
You can either give the same password for all the schemas or specify different passwords. In my case, I have chosen the same passwords for all the schemas.Click Next
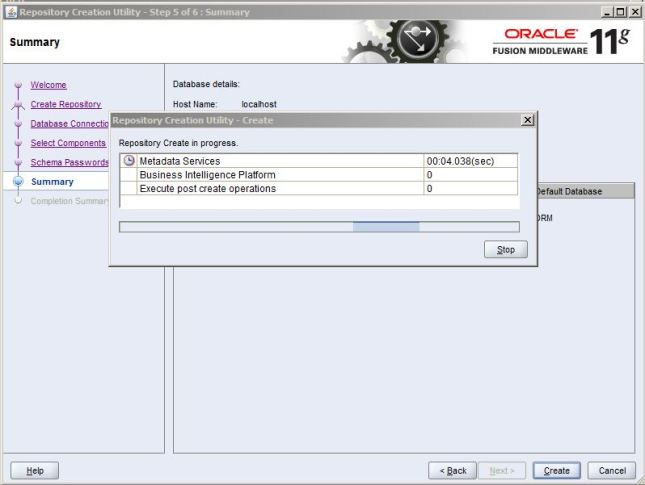
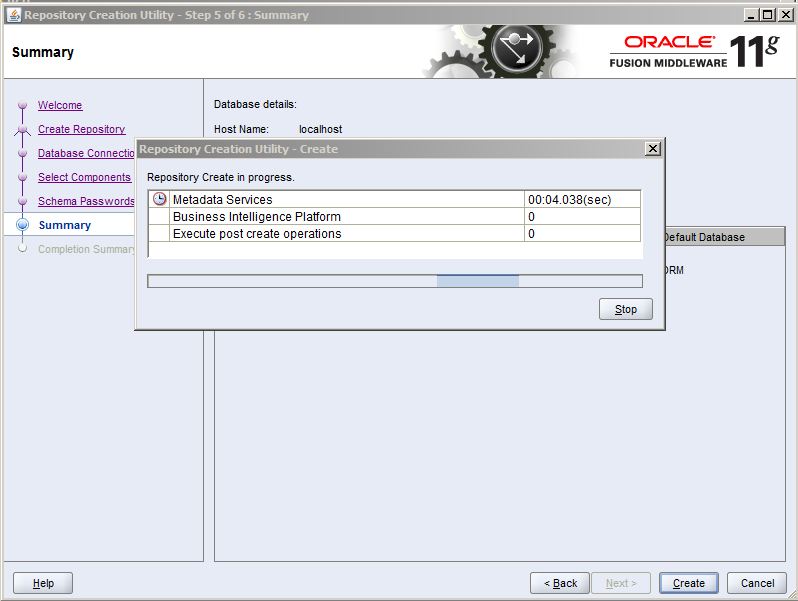
The RCU starts creating all the necessary tables.
Once the tables are created. You can look into the summary of the installation.
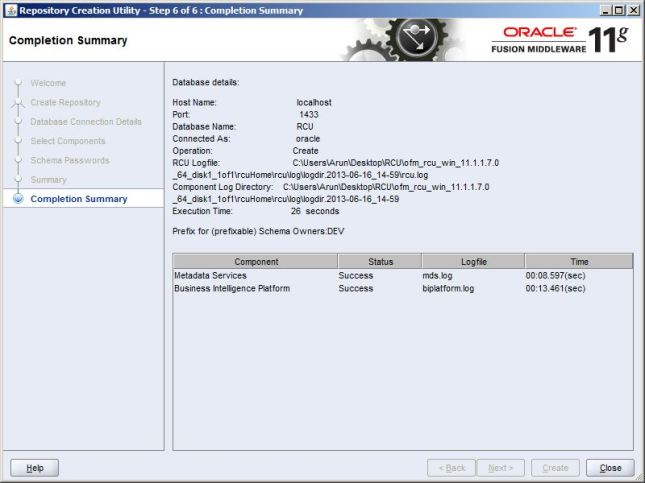
That completes the Installation of RCU on a MS SQL Server.
Installing OBIEE :
Download all the required files from Oracle eDelivery or Oracle.com.Unzip all the files on the same folder.

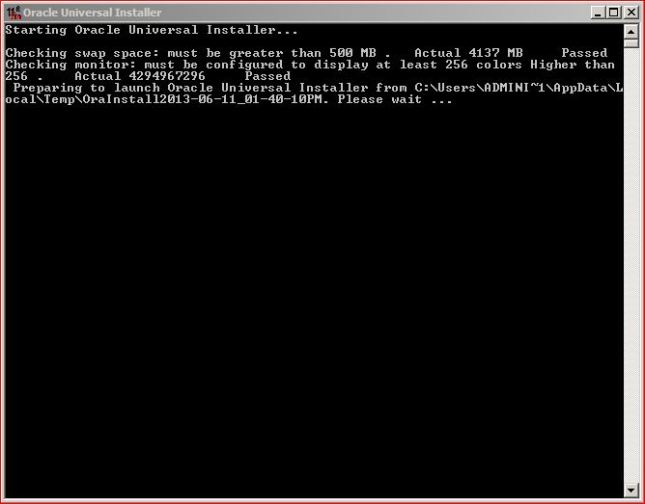
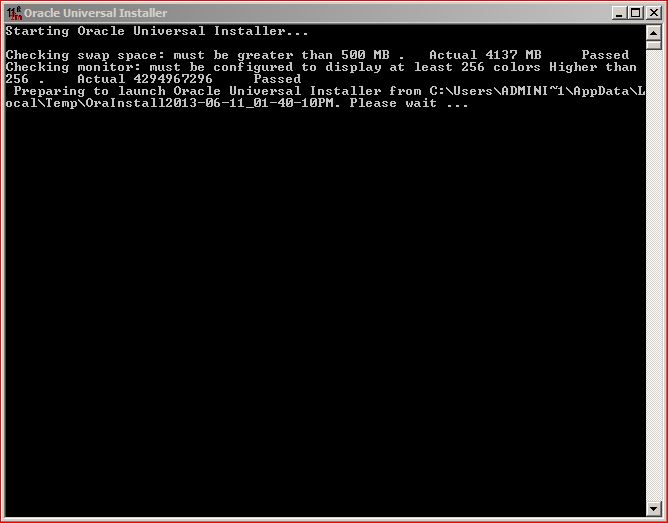
Open the Disk 1 Folder and then double click on setup

Oracle Universal Insaller opens up.

Oracle Installation steps open up. Click Next.

You can skip the software updates(Which is not recommended by Oracle)

Select the Type of Install. Select Entreprise Install radio button and click next.

The installer checks the Prerequisite for the installation. Once all the Prerequisites are cleared, click next.

Now you can either scale out the BI system or create a new BI system. Enter the Username and Password.

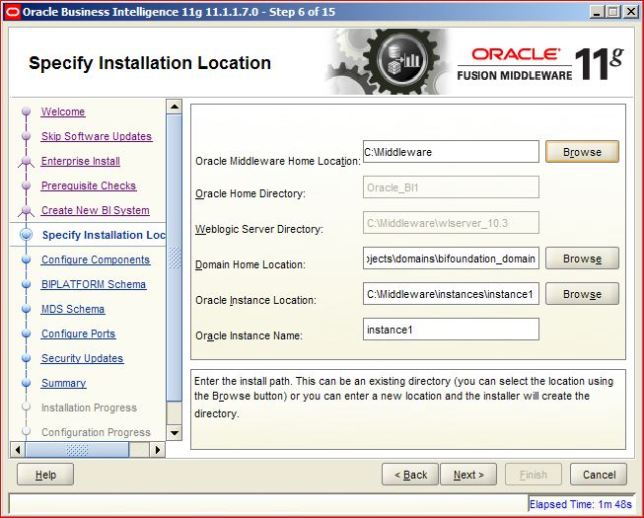
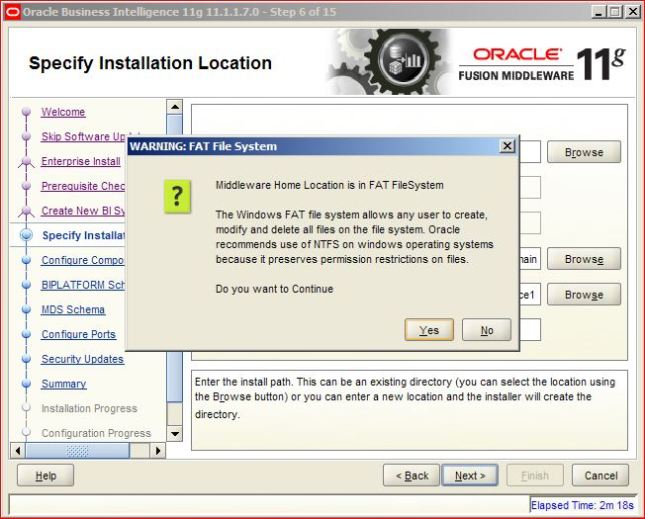
Enter the location where you would like to install the Middleware. Click Next.
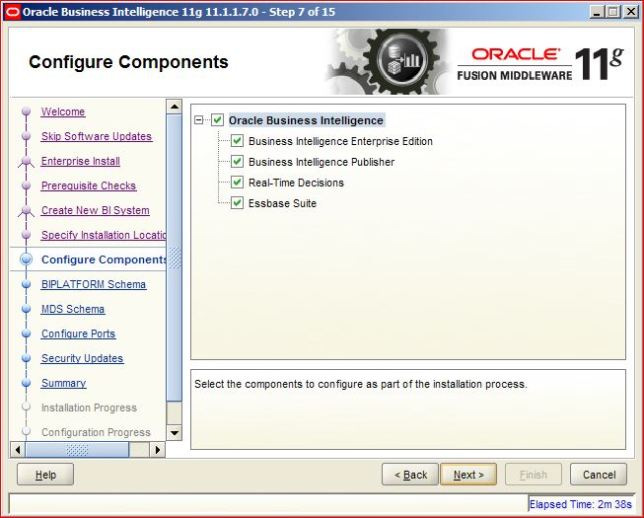
Select the components you would like to install. Click Next
You can select Auto Port Configuration or if you would like to manually enter the ports. then you would have to create ini file and select the file.
I choose Auto Port Configuration. Click Next.

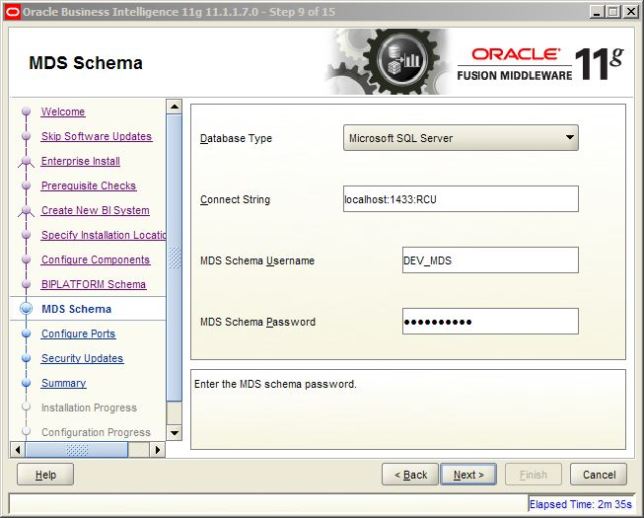
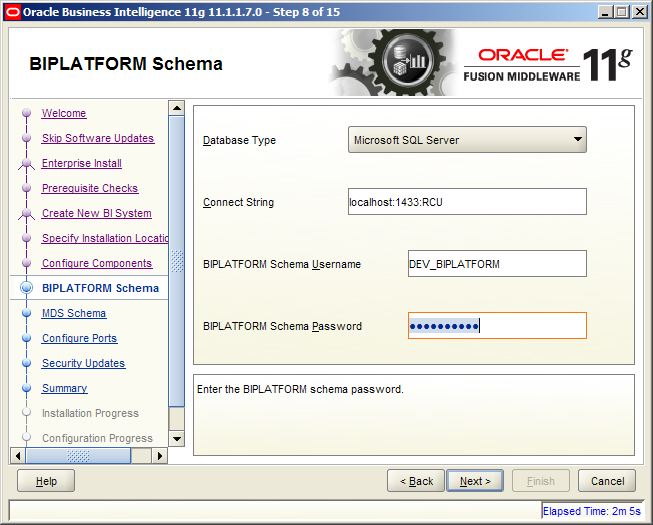
Select Microsoft SQL Server as the Database Type as i have installed RCU on Microsoft SQL Server.
Connect String: hostname:Port Number:Database Name
BIPlatform User Name: Enter the User Name
BIPlatform Password: Enter the Password
After you enter the required information, click next.

I skipped the secutiry updates (which is not recommended by oracle)


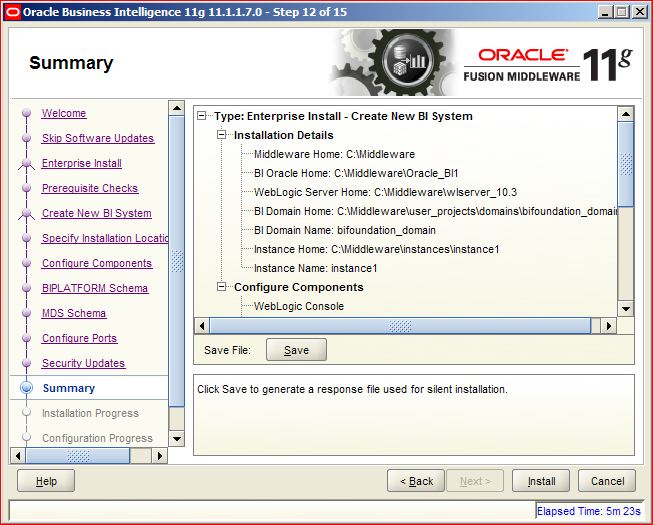
You will get to the summary of installation. Click Install

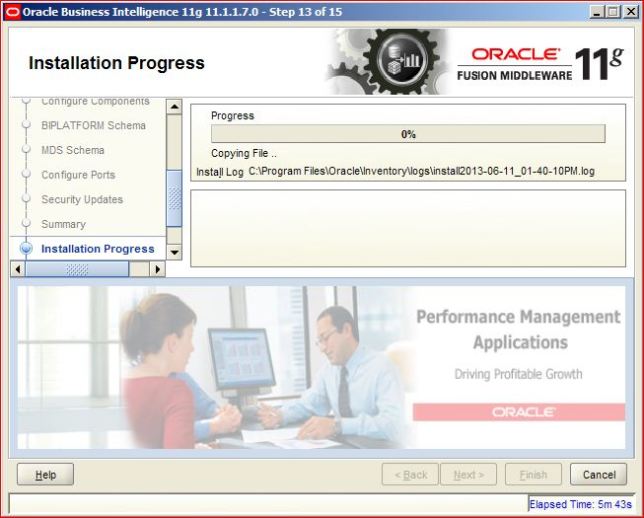
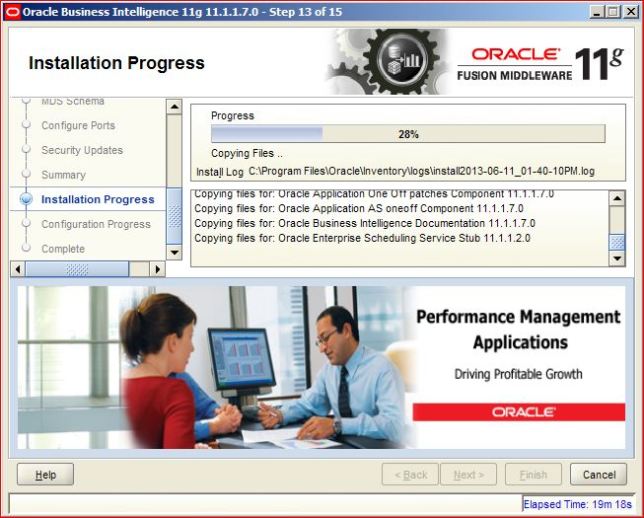

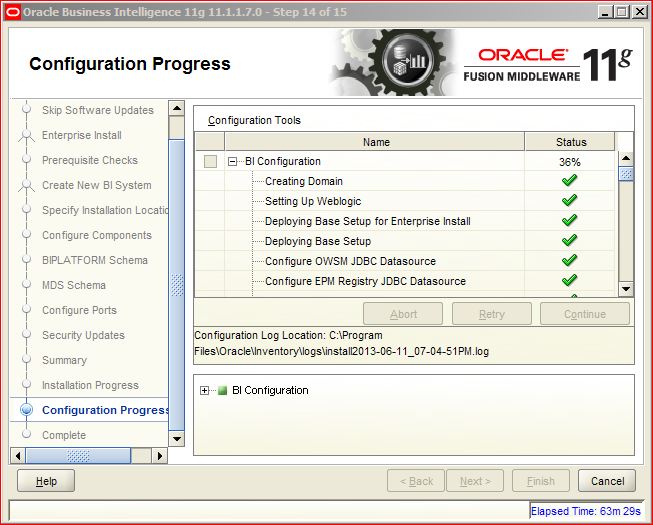
Once the installation completes. The configuration process starts.


Once the installation & Configuration process completes without any errors. Click Finish.

The username to login is the username and password provided for weblogic.
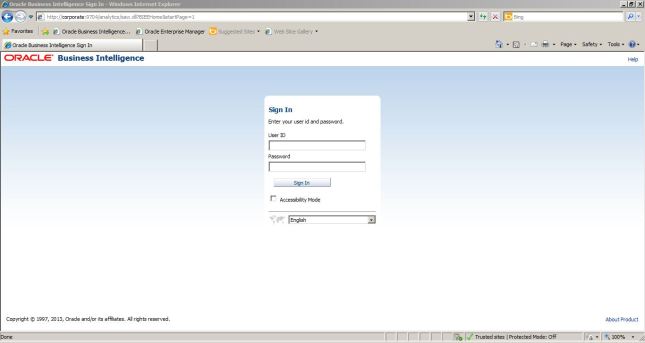
That is the completion of OBIEE installation.
RAM : 5 GB
Environment : VM
OBIEE Version : 11.1.1.7
Repository Database : MS SQL Server 2008
Since i am installing OBIEE on a VM with DHCP (Dynamic Host Configuration Protocol) Environment. Oracle recommends to install Loopback Adapter.
Note: You do not require to install Loopback Adapter if you are installing on server with fixed IP.
Installation Check list:
- Install Loopback Adapter
- Install RCU
- Install & Configure OBIEE 11g
Installing Loopback Adapter:
Right click on My computer and select properties Click on Advanced System Settings on the Top Left Corner and select Device Manager.
Right Click the Computer Name and Select Add Legacy Hardware as shown in the screenshot below.
From the hardware window. Select Install the hardware that I manually select from a list (Advanced) radio button and click next.
From the Hardware Types list. Select Network Adapters and click Next.

From the list Select Microsoft as manufacturers (Left Side) and Microsoft Loopback Adapter on the right side and click Next.

The wizard will install Microsoft Loopback Adapter.
Once the wizard completes the installation. Click Finish.
Now you will see the Microsoft Loopback Adapter under the Network Adapters on Device manager window.
Now go to Control Panel. Click on Network & Sharing Center and select change adapter settings on the network sharing window.

Click on Properties on the Loopback Adapter.

Deselect every check box except Internet Protocol Version 6 and 4.
Now click on Internet Protocol Version 4 Properties as shown below and enter
IP Address: 10.10.10.10
Subnet Mask: 255.255.255.0

Click OK. Now Microsoft Loopback Adapter will show under the active networks.
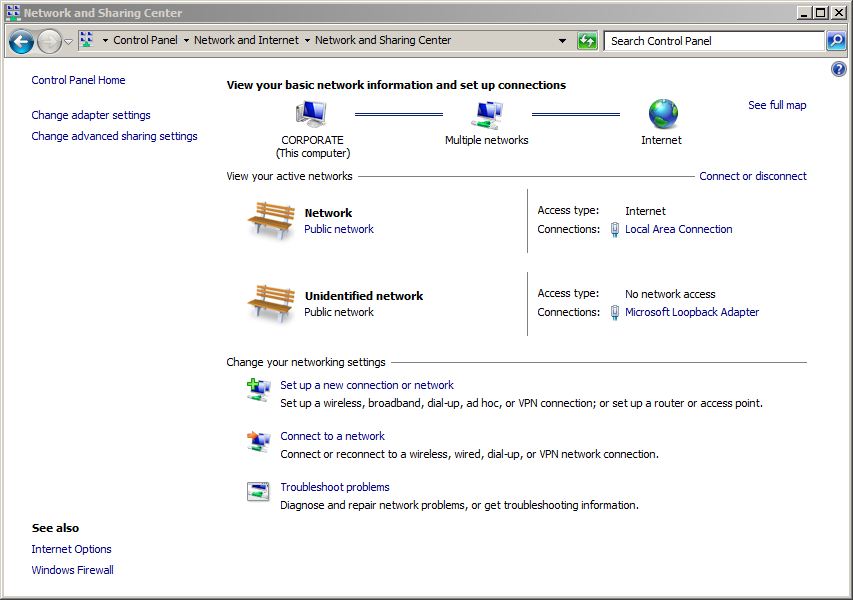
That completes the installation of Micorsoft Loopback Adapter.
Installing RCU:
There are few changes to be done on the SQL Server side. For this blog, I have created a Database named RCU to store the OBIEE Repository Tables. Once the Database is created. Run the below queries as shown in the screenshot.
ALTER DATABASE DATABASE_NAME SET READ_COMMITTED_SNAPSHOT ON
ALTER DATABASE DATABASE_NAME COLLATE LATIN1_GENERAL_CS_AS

After running the above scripts. Navigate to RCU.bat which is located inside RCU folder –> BIN. The RCU Welcome screen pops up. Click Next
Select Create Radio button and click Next.
Under the Database Connection Details. Select Microsoft SQL Server under Database Type. Unicode Support to Yes.Fill in the necessary connection parameters. In my case,
Server Name : Localhost
Port : 1433
Database Name : RCU
Username : Username to connect to RCU Database.
Password : Password to login to RCU Database.
Make Sure the username has DBA or SYSDBA Privileges. And then Click Next
RCU checks the Prerequisites. Once it is completed click OK and then Next.
Under the Components Select DEV_MDS and DEV_BIPLATFORM and then click Next.
You can either give the same password for all the schemas or specify different passwords. In my case, I have chosen the same passwords for all the schemas.Click Next
The RCU starts creating all the necessary tables.
Once the tables are created. You can look into the summary of the installation.
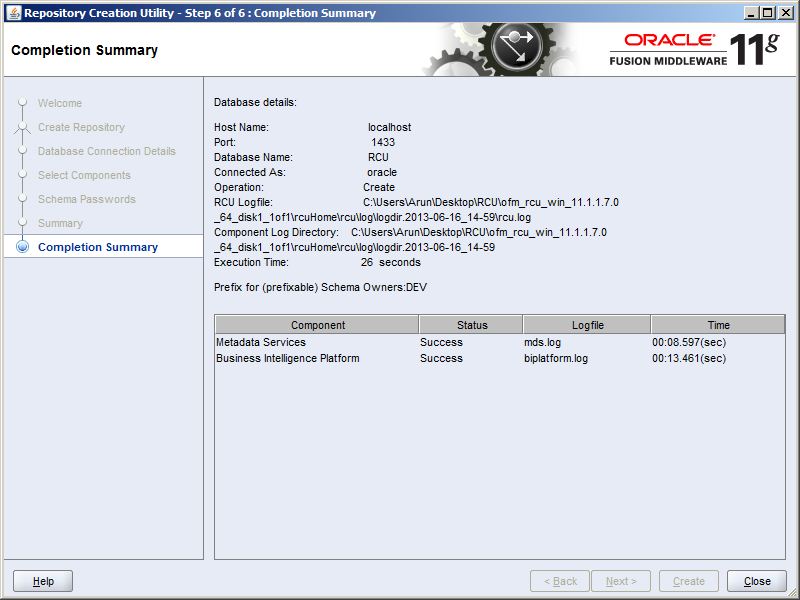
That completes the Installation of RCU on a MS SQL Server.
Installing OBIEE :
Download all the required files from Oracle eDelivery or Oracle.com.Unzip all the files on the same folder.

Open the Disk 1 Folder and then double click on setup

Oracle Universal Insaller opens up.

Oracle Installation steps open up. Click Next.

You can skip the software updates(Which is not recommended by Oracle)

Select the Type of Install. Select Entreprise Install radio button and click next.

The installer checks the Prerequisite for the installation. Once all the Prerequisites are cleared, click next.

Now you can either scale out the BI system or create a new BI system. Enter the Username and Password.

Enter the location where you would like to install the Middleware. Click Next.


Select the components you would like to install. Click Next

You can select Auto Port Configuration or if you would like to manually enter the ports. then you would have to create ini file and select the file.
I choose Auto Port Configuration. Click Next.

Select Microsoft SQL Server as the Database Type as i have installed RCU on Microsoft SQL Server.
Connect String: hostname:Port Number:Database Name
BIPlatform User Name: Enter the User Name
BIPlatform Password: Enter the Password
After you enter the required information, click next.

I skipped the secutiry updates (which is not recommended by oracle)


You will get to the summary of installation. Click Install


Once the installation completes. The configuration process starts.
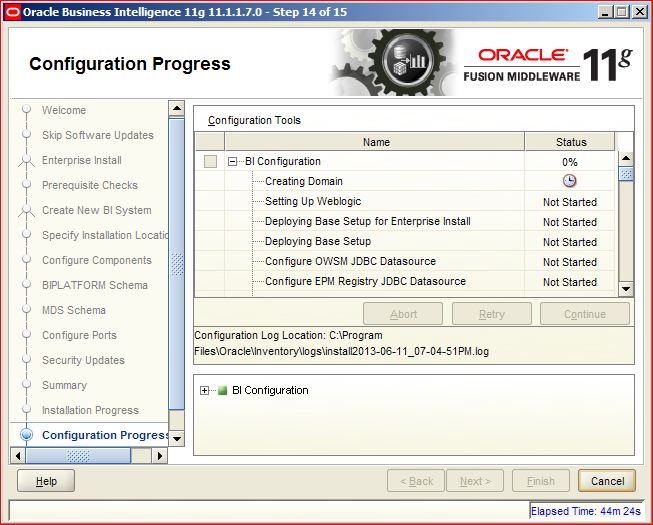
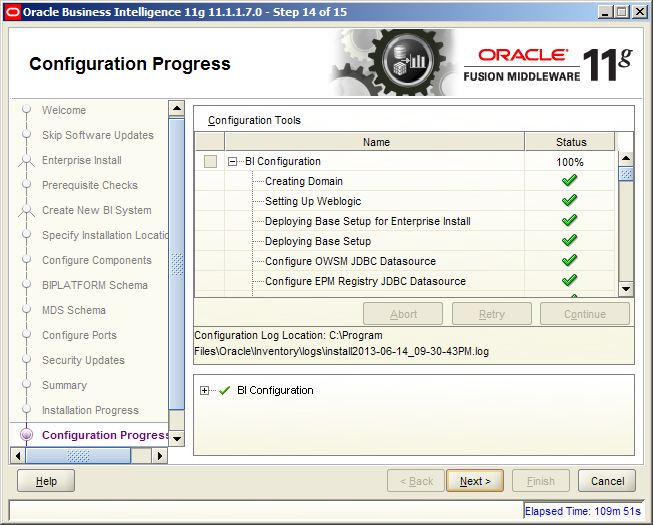
Once the installation & Configuration process completes without any errors. Click Finish.
The username to login is the username and password provided for weblogic.
That is the completion of OBIEE installation.

